Pods and Boosters
This tutorial shows how to configure pods and boosters for some of the most commonly-desired design configurations.
Contents of this tutorial:
Introduction
OpenRocket 22.02 introduced the concept of pods and boosters, which are almost the same thing but not quite.
In addition to this tutorial, check out the example rockets included in OR that demonstrate what is described here (File -> Open example).
Basics
The Pods and Boosters components are in the Assembly Components section up at the top:
The first important thing to note is that these are not physical components, but represent attachment points for other complete airframes. The next important thing is that a pod set can only be attached to a body tube. This may change in future releases.
In the rocket figure display, the pods are shown as little plus-sign targets. Here they’re shown in the back view for clarity.
Parameters
The following parameters are available in the Pods Configuration Dialog:
Radius relative to: determines the Radius Positioning Method, i.e. how OR will calculate the distance of the pod components from the center of the rocket. The most commonly useful option, shown selected, isSurface of the parent component. This method means that theRadial Distancevalue will define the distance from the surface of the airframe to the surface of the pod body. If we want our pods to be mounted to the surface of the body, we leaveRadial Distanceset to 0 and we’re good to go.
-
Radial Distance: distance offset from the radius positioning method, defined inRadius relative to, see above. -
Angle: determines the position of the first pod, just like a fin set. We’ll set it to 60 so the pods will be positioned between the fins. -
Number of Copies: how many pod instances are in the set. We’ll use three, one between each pair of fins. The last two positioning settings are just like any other component that gets mounted to a body. We’ll keep our pods flush with the tail of the rocket. Note that the position of the pod itself will always represent the rear of the pod assembly.
Adding Pods on the body
Let’s start with the simple case of something that looks like boosters attached directly to the main airframe.
-
Select the
Body Tubeyou’d like to add the pods to. Once selected, thePods component buttonon the right should become enabled. Click it to add the pods. -
The
Pods Configuration Dialogwill appear. Set the parameters as shown in the section Parameters section. -
Now, we add components to the pod set just like we were building a new rocket. We’ll start with a nose cone…
-
Then add a body…
-
And voila! Note that we could add anything we want to the pods, including more pods!
Pods on Fins
Sometimes you might want the pods to go on the ends of fins. Lets take the pods from the previous post and move them there.
Edit the pod set:
- Because our fins are 1.25” high, we set
Radial Distanceto that value, which means that the surface of the pod body tube will be exactly at the end of the fins. - We change the
Angleback to 0, so it matches the fins. - And finally, we set the
Position offsetto 1/2 inch, which will move the pods back and look a bit better.
The result is…
Fins on Fins
So far so good. What about fins on fins?
-
First let’s delete the nose cones, and edit the body tube on the pods:
-
Set the body tube length and diameter to 0. This is the infamous
phantom body tube, which will be invisible but will give us something to which to attach some fins. -
Let’s add a trapezoidal fin set to the phantom tube:
Two fins, set at 90 degrees. For each pod, 0 degrees represents the direction pointing directly away (perpendicular) from the body tube. So if we set fin rotation to 0, our pod fins would be coplanar with the main fins, which is not what we want. By setting them to 90 degrees, they’ll be perpendicular. And here they are:
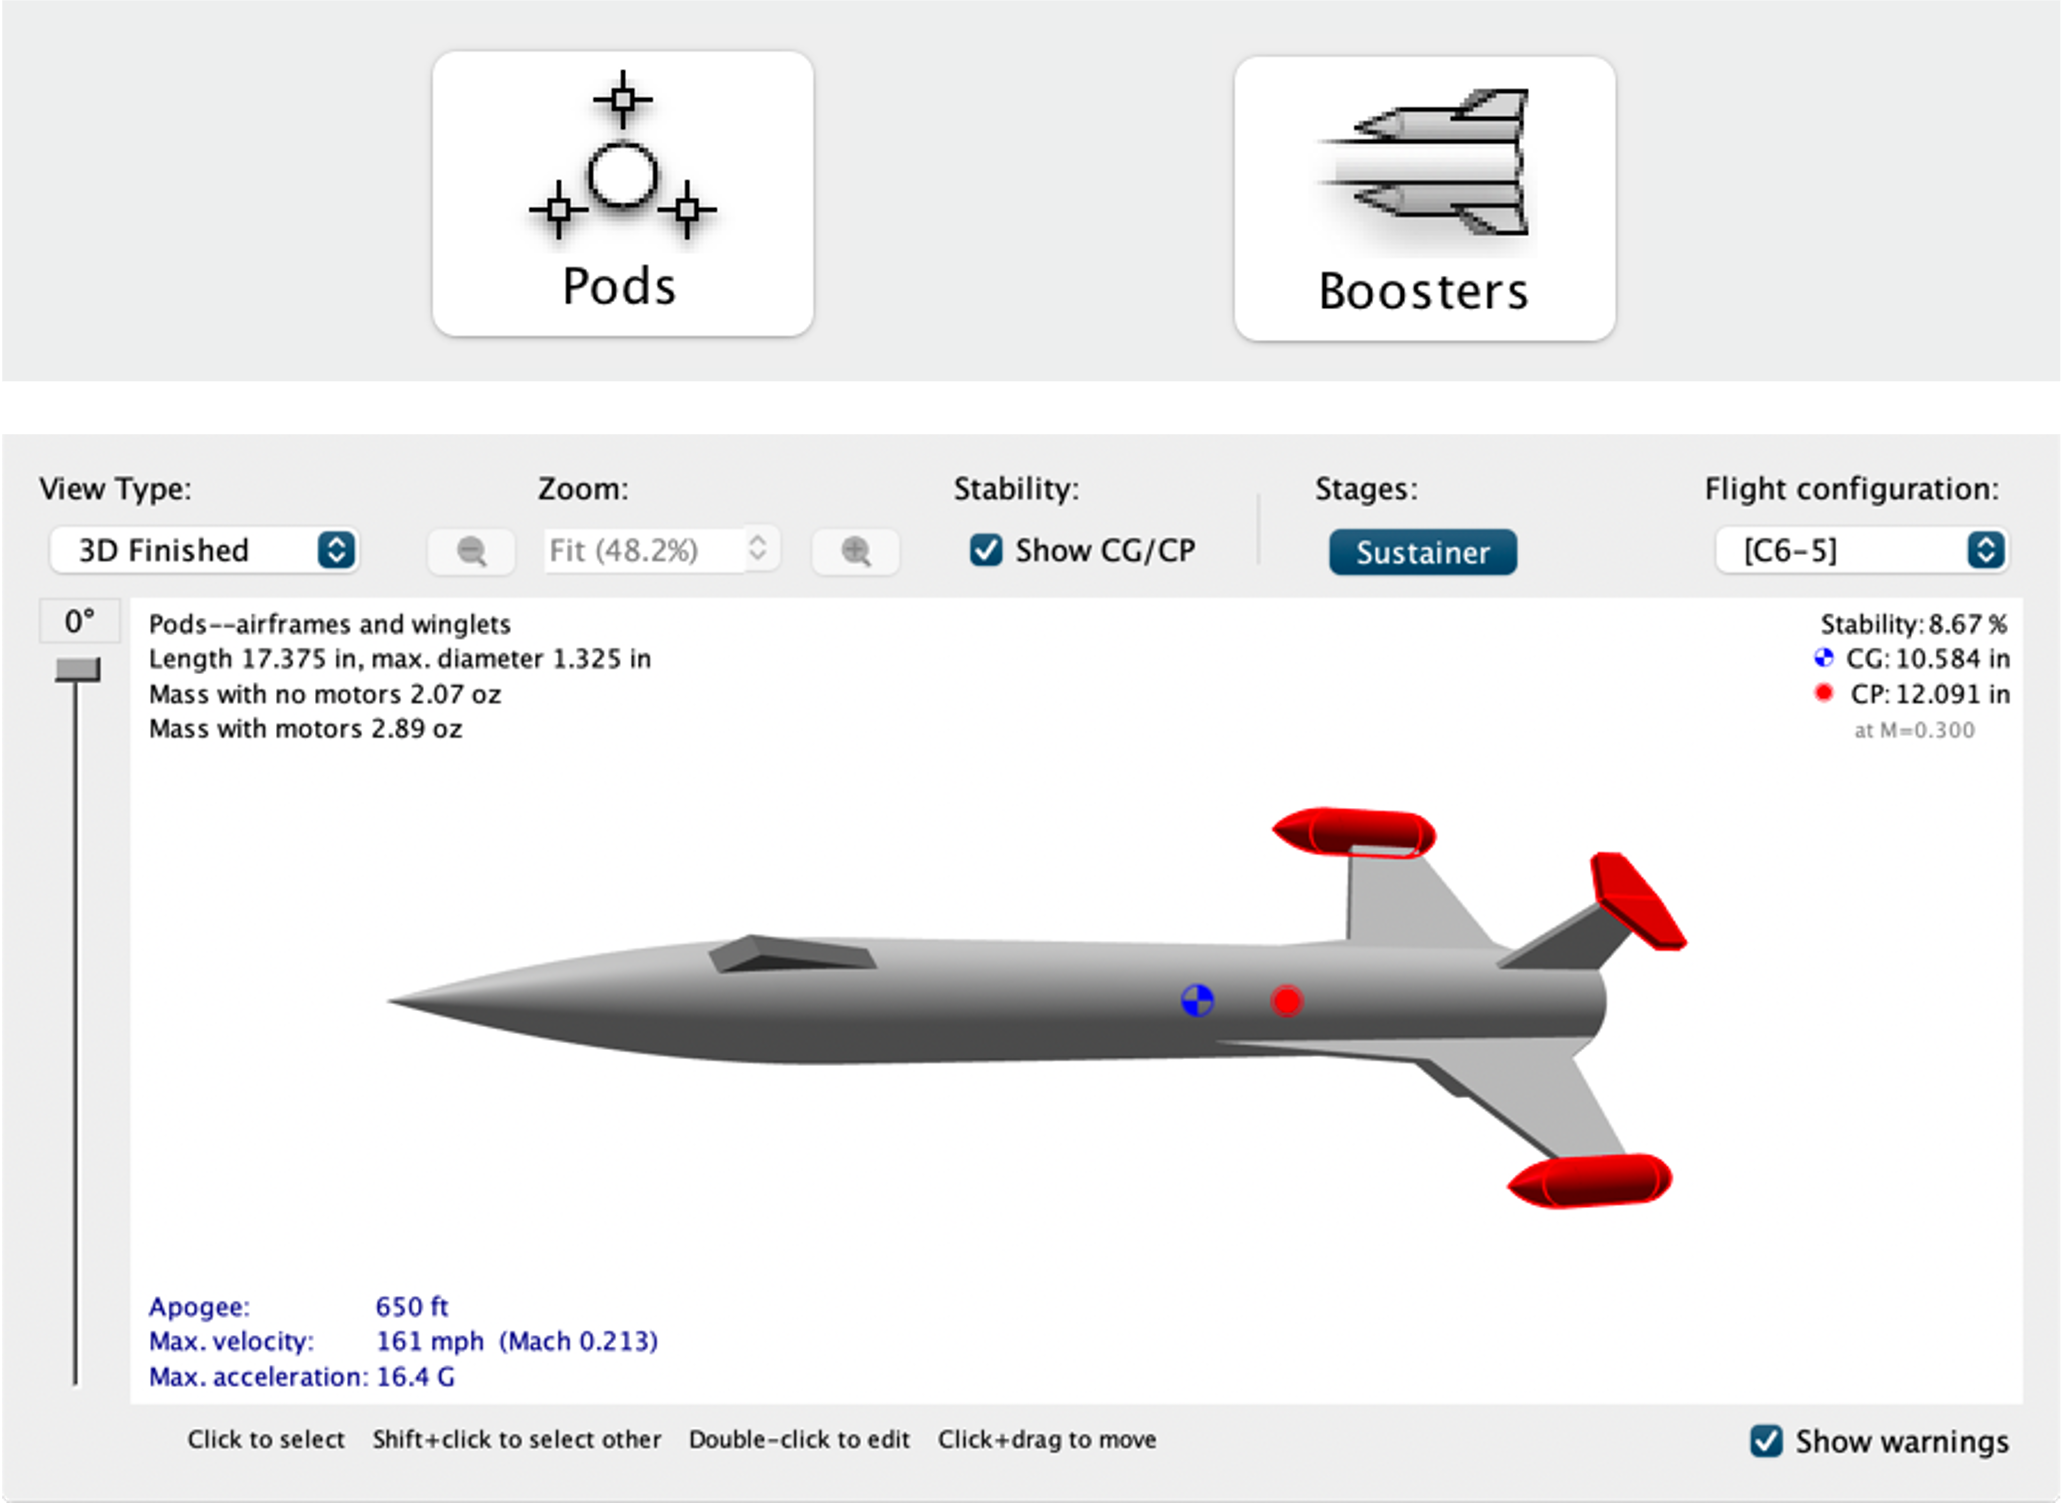
So now you’re ready to go build an OR model of a T-LOC, or an Interceptor, or darn near anything.
Pods vs. Boosters
Not discussed above is the fact that you can put motor mounts in your pods, and here is where the difference between pods and boosters comes in:
Podsare considered to be permanently attached to the rocket, and part of the same stage as the body tube they’re attached to.Boostersare considered to be their own stage, and may detach and fall away.
Let’s add boosters to the rocket from the previous example. Here’s the config dialog:
The first thing you notice is that there’s a new first tab called Separation. Here is where you can specify if and when the boosters will eject from the rocket. Also notice that the booster set is defined as a new stage in the rocket figure display:
Other than that, boosters behave exactly like pods.
Noticed a mistake? Please notify us at openrocket-website@lists.sourceforge.net.